Home/Flooring & Interior Updates/Crown Molding Installation
Go2you Construction LLC
Crown molding installation in Clarksville, TN
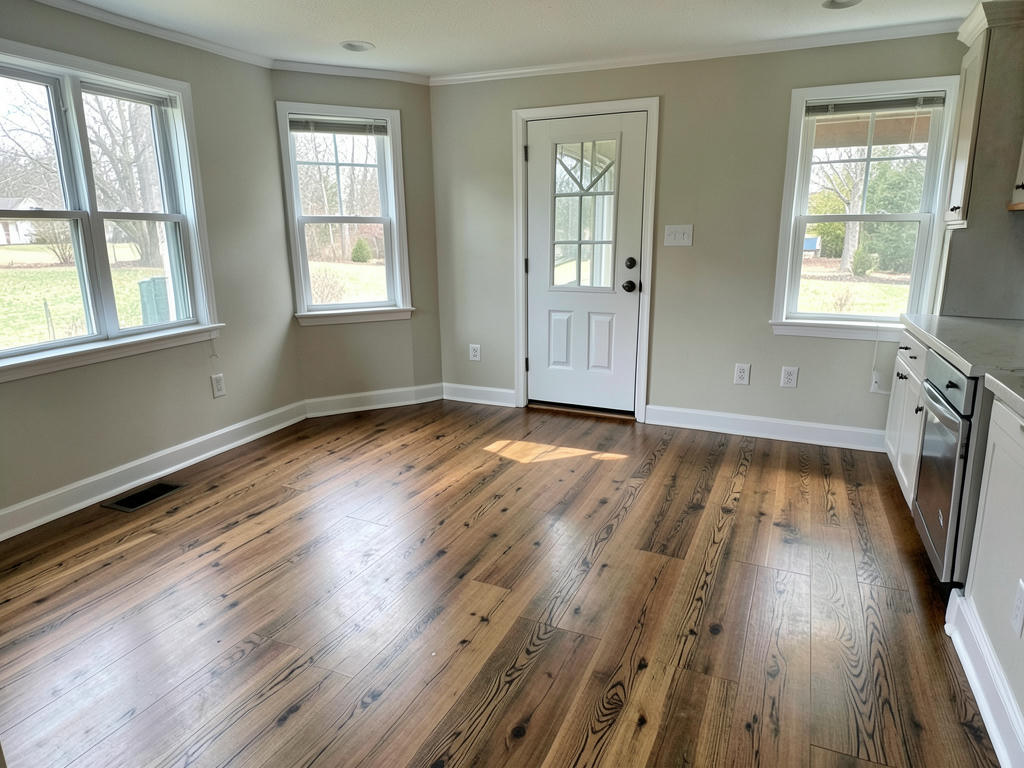
A finished edge where walls meet ceilings
Crown molding installation in Clarksville, TN, gives your rooms a defined transition between the walls and ceiling. We offer this interior update through Go2you Construction LLC, and you can start by discussing your room sizes, existing trim, and preferred profile.
How do you choose crown molding for your room?
Crown molding should suit the ceiling height, room proportions, and surrounding trim. A deep, heavily detailed profile can feel crowded in a small room, while a narrow profile may disappear against a tall ceiling. Compare samples upright at the wall-to-ceiling junction rather than judging them flat on a table. You can also consider how the crown relates to door casings, window trim, and baseboards. Matching every profile is not necessary, but similar visual weight helps the room feel consistent.
Material selection affects both appearance and installation details. Solid wood is an option for stained finishes, although grain, knots, and seasonal movement need consideration. MDF offers a smooth surface for painted trim but is generally unsuitable where moisture exposure is a concern. Some polymer products tolerate damp conditions better, with fastening and adhesive requirements that vary by manufacturer. Tell us if you want paint or stain before choosing the molding, since that decision changes which joints, fillers, and surface preparations are appropriate.
How is crown molding installed step by step?
Crown molding installation begins with measuring the room and checking the surfaces that will support it. Wall lengths alone do not tell the whole story: inside corners, outside corners, ceiling changes, and open ends each require a plan. Stud locations and ceiling framing help determine where fasteners can hold securely. Wider profiles may need backing rather than relying on finish nails through drywall. Layout marks establish a consistent position along the wall and ceiling before the first permanent piece goes up.
Cutting and fitting follow the layout, with trial pieces useful for checking corner angles and the molding’s spring angle. Inside corners may use coped joints, while outside corners typically require carefully fitted miters. Longer runs can need scarf joints positioned over suitable support. After fastening, nail holes and appropriate joints are filled, and paintable edge gaps may receive caulk. Finish preparation follows the chosen material. This work fits within our flooring and interior updates, with the final scope depending on your room and finish goals.
Can crown molding hide uneven walls and ceilings?
Crown molding can cover a narrow, uneven-looking wall-to-ceiling transition, but it cannot correct the condition underneath. Small surface variations can sometimes be accommodated through fitting and finish work. Larger humps, dips, loose drywall, or recurring cracks deserve attention before trim is installed. Trying to force a rigid profile tightly against every irregularity can create a visibly wavy line. A consistent molding line, with sensible preparation behind it, usually looks better than trim that follows every defect in the surface.
Moisture stains, soft drywall, and active leaks should be addressed before covering the area. If damaged surfaces need attention, drywall repair and installation may belong earlier in the project. Existing texture also matters: heavy ceiling texture can interfere with a tight edge and may require localized preparation. Crown does not serve as a structural repair or a substitute for investigating movement. Tell us about cracks that reopen, previous water damage, or trim that has pulled away so those conditions remain part of the discussion.
What affects crown molding installation time and scope?
Room geometry and finish requirements affect crown molding work as much as the total length. A rectangular room with four inside corners is different from a room with angled walls, columns, multiple outside corners, or short returns. Tall ceilings and stair openings add access considerations. Built-up crown uses multiple pieces to create a larger profile, increasing layout and fastening steps. Existing trim removal, surface repairs, furniture protection, and disposal should also be clarified rather than assumed to be part of installation.
Measuring, cutting, and fitting generally occupy a different stage from filling, sanding, and painting. A straightforward room may have its trim fitted in a day, while complex corners or multiple rooms can extend that stage. Finish work may require additional visits because fillers, caulk, primers, and coatings need their specified drying time. These are general planning considerations, not a promised schedule. When discussing crown molding installation in Clarksville, ask which stages are included and whether the room can remain in use between them.
How should you prepare for crown molding installation?
Preparing the room starts with clearing access along the walls and beneath the ceiling perimeter. Move fragile objects, wall art, and small furnishings out of the work area. Larger furniture may need relocation or protection, depending on ladder placement and room dimensions. Mention ceiling fans, hanging fixtures, tall cabinets, and window treatments that could obstruct access. If existing paint is staying, keep its product information or a labeled touch-up container available. Matching an older finish can be difficult even when the original color name is known.
A useful project conversation covers the profile, material, room boundaries, corner treatment, and finished condition you expect. Ask who supplies the trim, whether painting is included, and how crown will terminate at open walls or adjoining spaces. If other trim is changing, coordinate the proportions with interior trim installation before ordering materials. If your search began with “crown molding installation near me,” bring room photos and approximate dimensions to the discussion. They help explain the job, though they do not replace checking actual site conditions.
Questions
Questions about crown molding installation in Clarksville
Should crown molding be painted before or after installation?
Crown molding can receive primer or an initial coat before installation, but final touch-ups usually follow fitting and fastening. Cut ends, nail holes, and joints still need attention afterward. The right sequence depends on the material and finish, so confirm whether your project includes installation only, finish preparation, or completed painting.
Can crown molding be installed on a sloped ceiling?
Crown molding can be installed on some sloped ceilings, but the transitions require a layout suited to the ceiling angles. Standard corner cuts may not work where a sloped ceiling meets a level section. Photos, measurements, and a look at the junctions help establish whether conventional crown or a different trim detail makes more sense.
Does crown molding need to match the baseboards?
Crown molding does not need to match the baseboards exactly, but their proportions and style should work together. Simple baseboards can pair well with restrained crown, while ornate crown may look disconnected from very minimal surrounding trim. Compare samples with your existing door casings too, especially in rooms where several trim styles are visible together.
Can you install crown molding in just one room?
Yes, crown molding can be installed in just one room without continuing throughout the house. Enclosed rooms provide natural stopping points at doorways. Open floor plans need more thought about where trim ends, particularly when ceiling heights change or walls continue into adjoining spaces. A planned return can give an exposed end a finished appearance.
Do you offer crown molding installation outside Clarksville?
Yes, we offer crown molding installation in Sango, Woodlawn, Adams, Cumberland City, Dover, Fort Campbell, and Oak Grove as well as Clarksville. When you contact us, share your location and which rooms you want to update. Include ceiling heights and any unusual corners or access constraints so we can discuss the intended scope.