Home/Flooring & Interior Updates/Interior Trim Installation
Go2you Construction LLC
Interior trim installation in Clarksville, TN
Details that connect the room
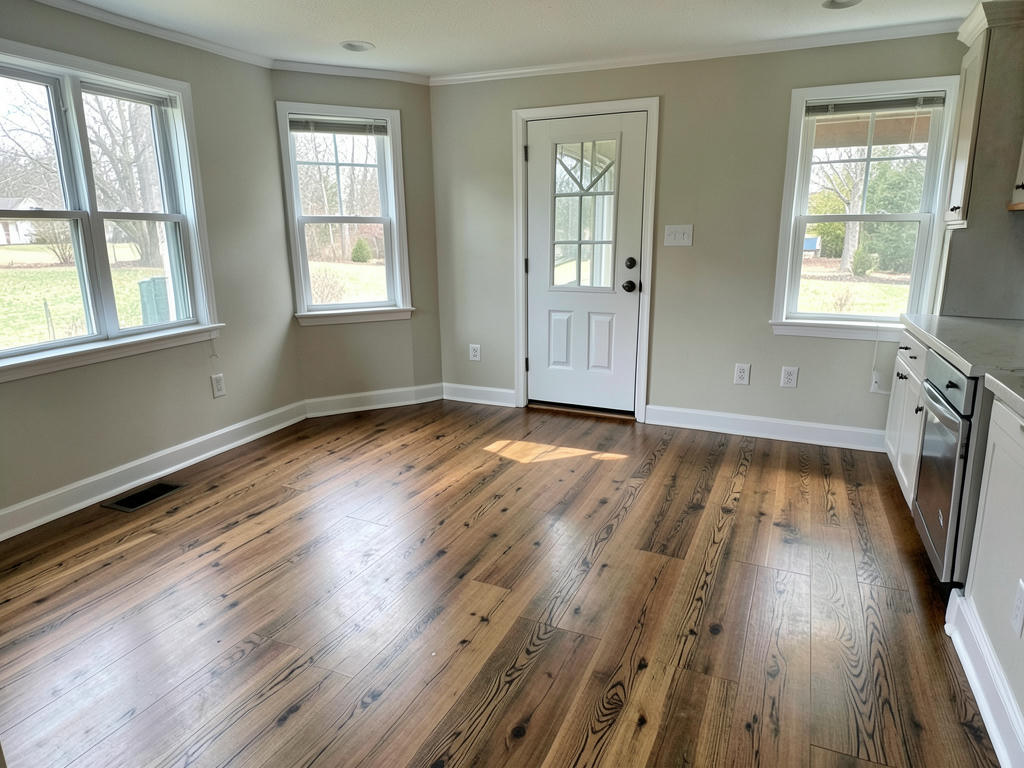
Interior trim installation in Clarksville, TN, gives doorways, windows, and wall transitions a finished appearance. We help you plan trim updates around the room’s proportions, existing woodwork, and surrounding finishes so you can make practical choices before installation begins.
How do you choose interior trim for your home?
Interior trim should suit both the room’s proportions and the details you plan to keep. Wide casing can give an opening more visual weight, while narrow, simple profiles create a quieter border. Before selecting a profile, compare it with nearby doors, cabinets, and existing molding. A sample held against the actual wall is more useful than a small catalog image. We can discuss trim as part of your broader flooring and interior updates, especially when several adjoining rooms need a consistent look.
Material choice affects appearance, preparation, and where a piece belongs. Finger-jointed wood is commonly used for painted trim, while clear wood offers visible grain for a stained finish. MDF has a smooth paintable surface but needs protection from moisture, particularly at cut edges. Some moisture-resistant synthetic products may suit damp locations, though fastening and finishing instructions vary. Decide early whether you want paint or stain: stain-grade material exposes joints and grain differences that an opaque finish would otherwise hide. Bring a sample of existing trim if matching matters.
What happens during interior trim installation?
Interior trim installation begins with measurements and an assessment of the surfaces that will support the molding. Existing pieces may need careful removal to limit damage to nearby paint or drywall. Before cutting new material, the layout establishes consistent reveals around door and window frames. A reveal is the small, visible setback between the frame edge and the casing. Checking that line around the opening helps prevent a visibly uneven border, particularly where an older frame is slightly out of square or the wall surface varies.
Each piece is then cut, test-fitted, and adjusted before fastening. Outside corners commonly use miter joints; inside corners on shaped molding may benefit from coped joints. Long runs need planned joints rather than an awkward short piece near a doorway. Fasteners must reach suitable backing without pulling the trim out of alignment. Nail holes and appropriate paint-grade gaps can be filled after fitting. Caulk should not substitute for a badly fitted joint, and stained trim usually needs a different approach to concealing small imperfections.
Can new trim fix gaps and damaged doorway edges?
New trim can replace chipped casing, cover appropriate finish gaps, and restore a consistent border around an opening. It cannot correct every problem behind that border. Loose drywall, soft wood, persistent dampness, or a moving frame should be investigated before those conditions are concealed. If removal exposes damaged wall edges, drywall repair and installation may need to happen before the new trim is attached. We want you to understand the difference between replacing a decorative piece and addressing the surface that supports it.
Uneven walls and mismatched adjoining trim are common fitting challenges. A casing can sit flat against one part of the wall while leaving a gap at another, so the solution may involve adjusting the fit rather than forcing the piece tight. Replacing one damaged length also requires checking profile depth, width, and shape—not just color. An exact match may not be available for an older pattern. In that situation, replacing the full doorway surround can look more intentional than combining visibly different profiles in one opening.
What affects the scope and timing of trim work?
The number of openings, joint complexity, and condition of existing surfaces shape the scope of interior trim installation in Clarksville. A simple rectangular doorway is different from a wide opening with layered molding and several returns. Removal adds work, especially if old paint bridges the trim and wall or the surrounding finish is fragile. Stain-grade work also demands careful material selection and joint fitting. If your plan includes baseboard installation, consider where the casing and baseboard meet so their thicknesses and profiles work together.
Measuring and layout generally take less time than cutting, fitting, and fastening multiple openings. A straightforward opening may involve hours of hands-on work, while several rooms with detailed profiles can require multiple workdays. These are general planning considerations, not a schedule commitment for your home. Paint, filler, adhesive, and caulk may require separate drying periods according to their product instructions. Material availability and wall repairs can also affect sequencing. Ask for a clear distinction between installation time and the time needed for finishing before normal room use resumes.
How should you prepare for interior trim installation?
Preparing for trim work starts with clearing access to the walls and openings involved. Move furniture, remove fragile decorations, and take down window treatments if they block the work area. Keep children and pets away from cutting and fastening areas. Save photos of details you like, and identify any existing pieces you want preserved. If trim sits near recently installed flooring, share that information before layout begins. Flooring height can affect casing cuts and transitions, so coordinating those details early avoids choosing pieces that do not fit the finished surfaces.
A useful project discussion covers material, profile, finish, removal, wall repairs, and who handles painting or staining. Ask whether nail-hole filling and caulking are included in the agreed scope rather than assuming every finishing task is bundled together. For an “interior trim installation near me” search, those specifics are more useful than comparing appearances alone. We serve Clarksville and nearby communities, including Sango and Woodlawn. Tell us which rooms need attention and if you plan to replace existing trim or add it around newly updated openings.
Questions
Questions about replacing interior trim in Clarksville
Can I replace trim without replacing the doors?
Yes, casing can often be replaced while keeping the existing door and frame. The frame needs to be sound, and the new trim must fit its depth and surrounding wall. If the door sticks or the frame moves, investigate that separately rather than expecting decorative molding to correct the problem.
Should interior trim be painted before or after installation?
Interior trim can be painted before installation, afterward, or through a combination of both. Priming and applying an initial coat beforehand can simplify coverage, but cut ends, nail holes, and joints still need attention after fitting. Confirm the finishing sequence and responsibility before work starts, particularly when other painting is planned.
Is MDF or wood better for interior trim?
The better choice depends on moisture exposure, finish, profile, and how the trim will be used. MDF suits many painted applications but is vulnerable to moisture damage. Wood offers options for stained finishes and different edge details. Compare actual product samples and manufacturer instructions instead of treating either material as universally better.
Can new trim match the molding already in my house?
New trim may match existing molding if a compatible profile and size are available. Compare the shape, thickness, and width as well as the finish. A photograph helps start the discussion, but a physical sample is more precise. If a match is unavailable, discuss replacing a complete opening or room.
How do I arrange interior trim installation in Clarksville?
Call Go2you Construction LLC at (931) 220-4607 to discuss your interior trim project in Clarksville. Have the room count, approximate number of openings, and any profile photos ready. Our hours are Monday through Friday, 7:00 a.m. to 5:00 p.m. Explain any flooring, door, or painting work that needs coordination.